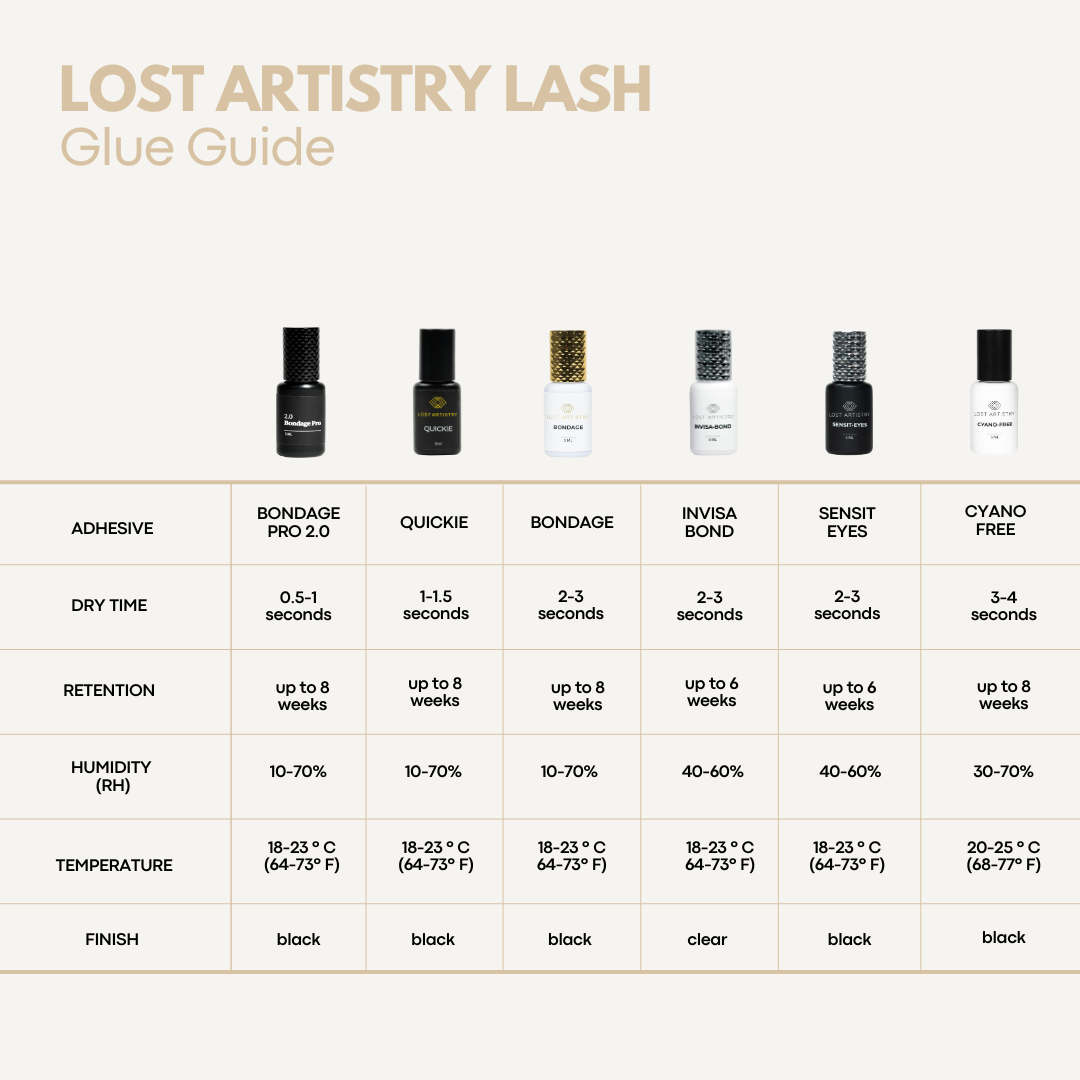
Not sure which lash glue is best for you?
LASH GLUE FAQ
General Use
It is important to shake your glue from side to side (not up and down). If the adhesive is shaken up and down, it will never get the proper amount of the black components to the top of the bottle because the cyanoacrylate settles at the top of the bottle. Shaking the glue is extremely important to make sure you are dispersing this ingredient throughout the bottle. If you do not thoroughly shake and mix your glue will end up using all of the cyanoacrylate within the first few services.
Check out our video on how to shake your lash glue here.
How long do I shake my glue for?
By hand: Up to 5 minutes by hand for the first use and then 2 minutes by hand for every use thereafter.
With Glue-burator: 10-20 seconds in the Glue-burator for the first use and then 5-10 seconds in the Glue-burator for every use thereafter.
It is super important for your adhesive to be in a consistent environment (both humidity and temperature) to avoid Shock Polymerization. When you are shocking the glue by moving it from a cold environment with one humidity/temperature, to a warmer environment with a different humidity/temperature, it really throws off the glues functionality (the glue may be goopy, not work as well, etc.). Consistency is so important if you want the glue to last for as long as possible <3
- Always store your glue in a cool, dry place that is out of direct sunlight. 2-10ºC is ideal.
- Ideally store your glue in a glue home, filled with a small amount of rice or 1-2 unopened silica gel packs (a tupperware container is a great inexpensive option too).
- Always ensure your glue is stored upright (a glue should never be stored on its side). The cyanoacrylate (the bonding agent) settles at the top, so if the glue is stored on its side you will likely use more cyanoacrylate than other components in each dot. This will lessen the lifespan of your glue and could cause a reaction to your client.
- Fridge Storage: If you choose to store your glue in the fridge, be sure not to keep it on your station during services. Simply shake, take a dot, and place it immediately back in the fridge for later use.
- Glue Storage Video: Click here
Un-opened: Your glue will last up to 6 months unopened as long as you store it in a cool, dry place. 2-10ºC is ideal for storage.
Opened: Your glue will last 1-3 months after being opened, depending on how it is stored, shaken, and cared for.
Signs your glue has expired: Click here
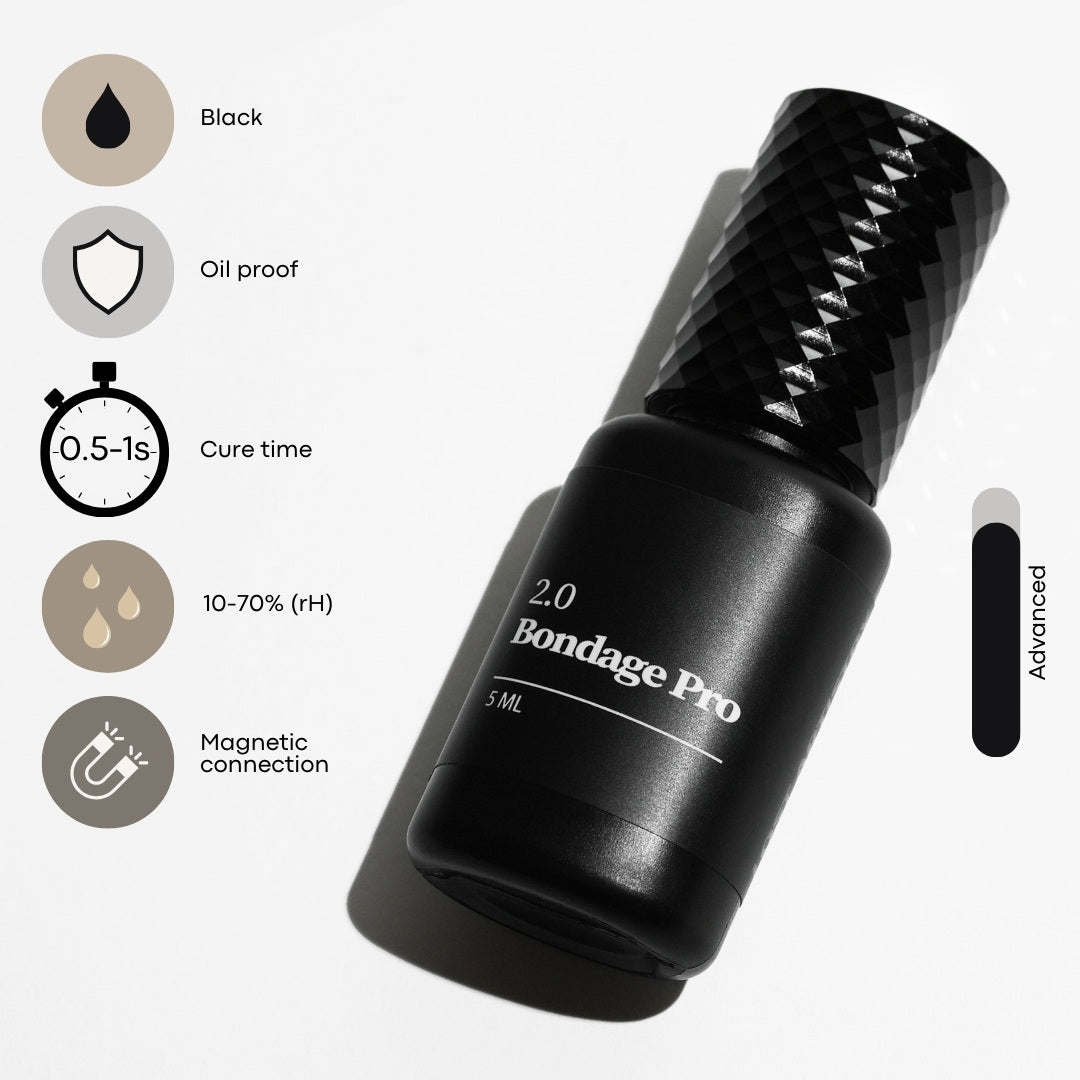
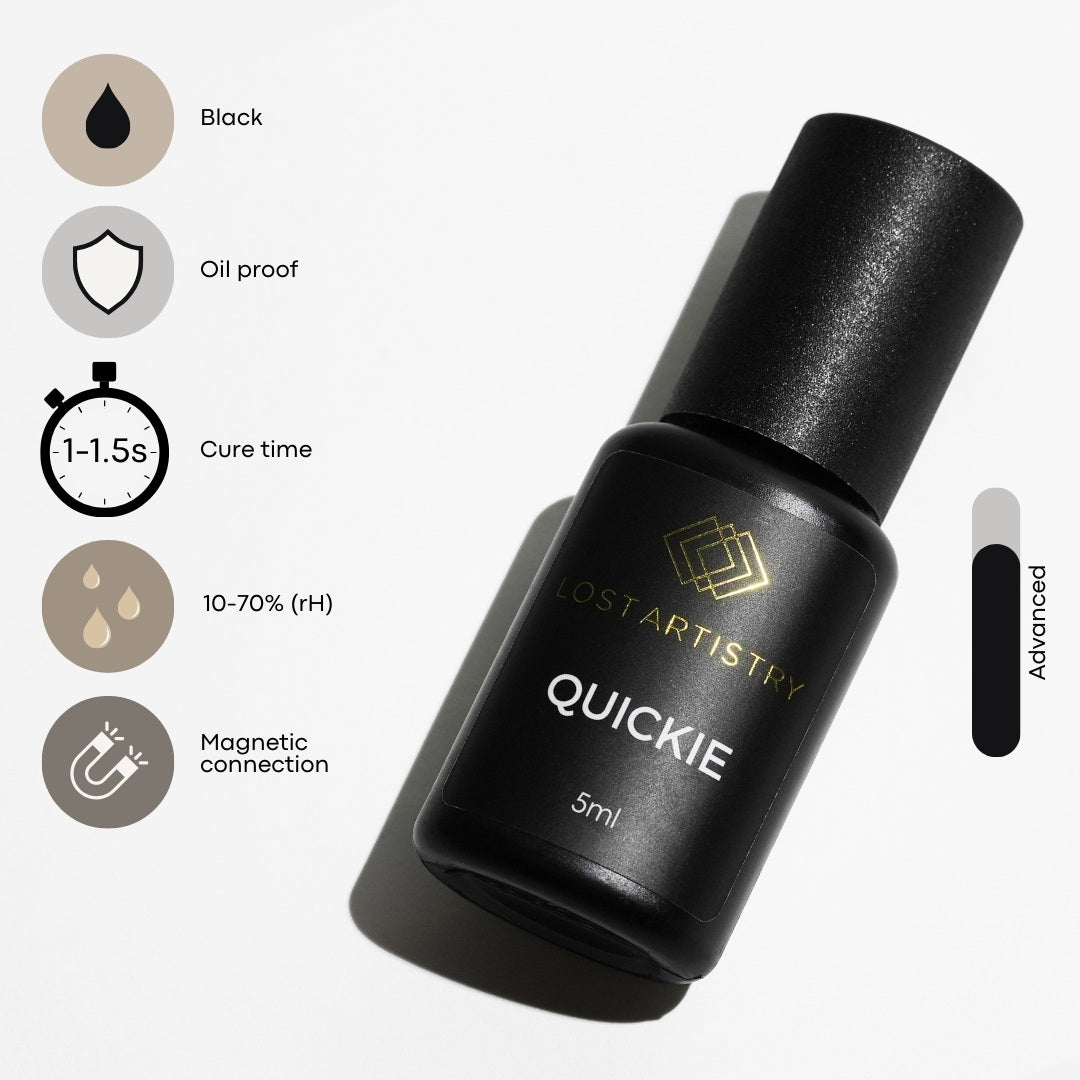
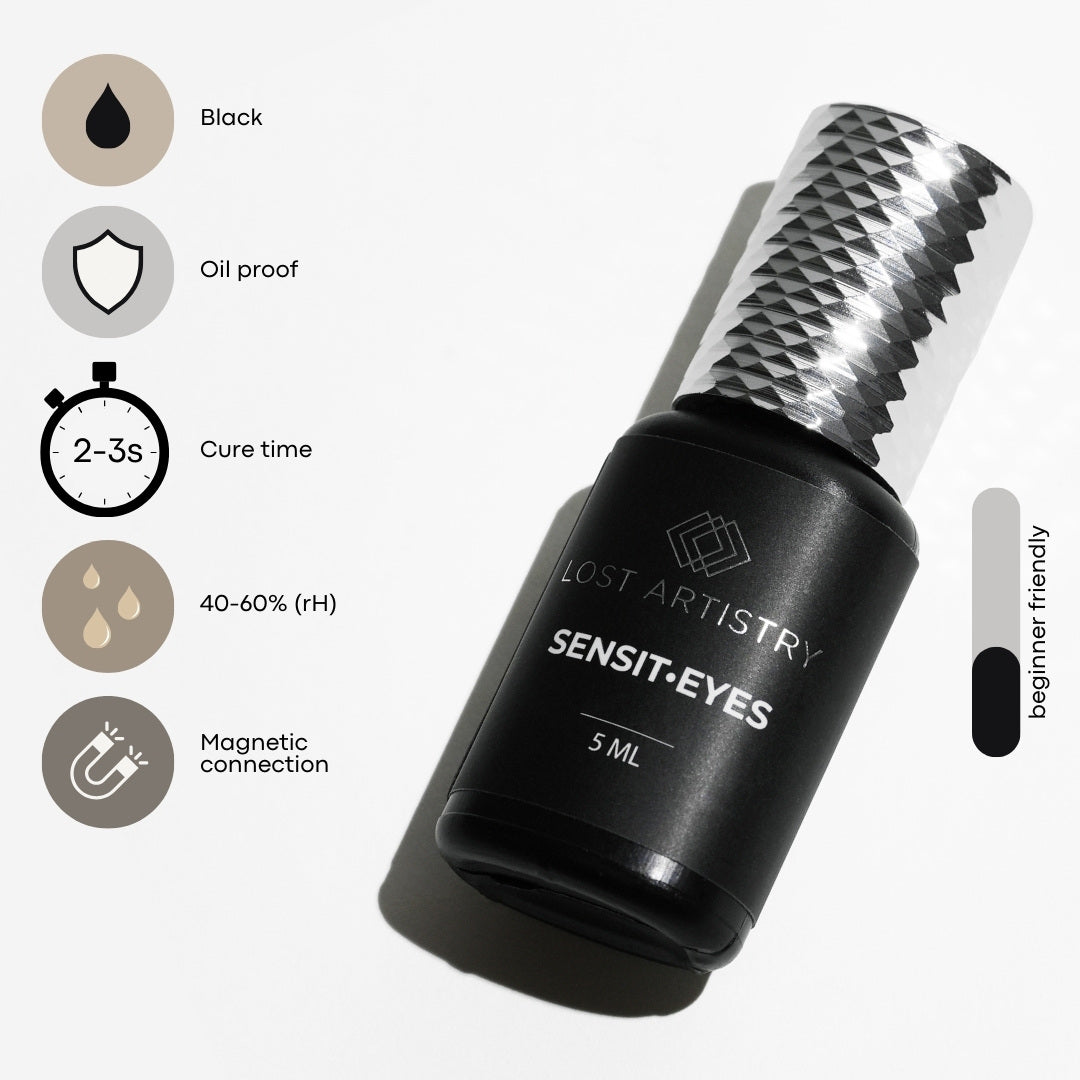
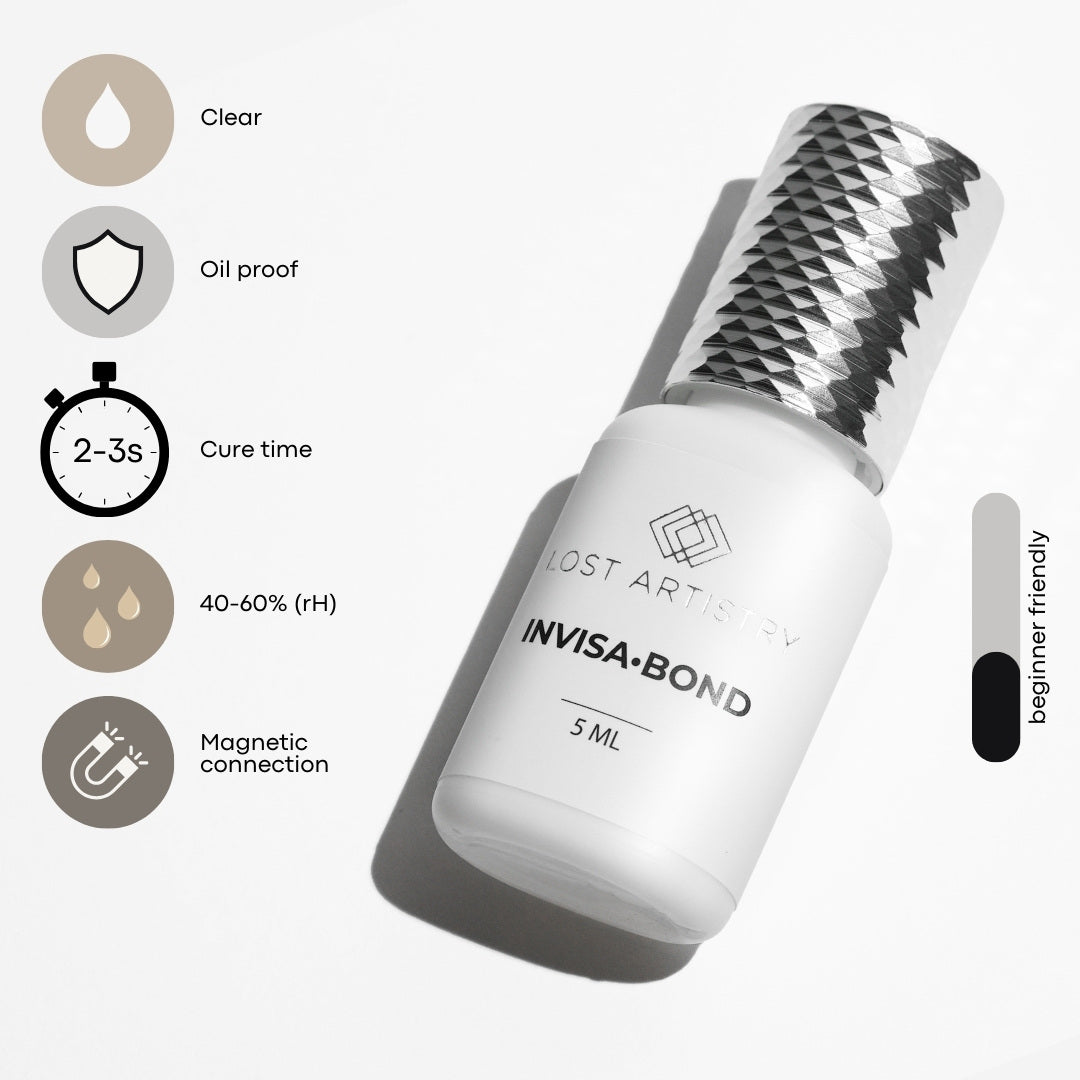
The ideal rH of your adhesive is unique to each glue. To find details on your specific glue, please visit the product description on our website. For more information on the importance of rH as well as how to work around fluctuating rH within your lash room, click here to watch our video.
To avoid clogging, every time that you pour a dot of glue you need to burp, clean and wipe the nozzle (with a dry glue wipe) right away. When you are burping the glue, you want to make sure the pressure is kept on the bottle 100% of the time, until the lid is fully closed. When you apply pressure on and off, air gets sucked into the nozzle and this is what clogs our glue. And when the bottle isn't being used, there should be a little divot in it where you have kept the pressure.
Click here to watch a video on how to burp your lash glue.
Steps to prevent your glue from clogging:
- Ensure the glue is being stored in an upright position. When the adhesive is laid on its side, the bonding agent will find its way into the nozzle making the glue more likely to cure in the bottle as soon as it is introduced to moisture upon opening.
- Ensure the bottle is fully sealed between services. This way no air will make its way into the top.
- Be sure to properly burp your glue (as explained above)
- Do not keep the glue bottle open for any longer than the amount of time it takes to squeeze out your dot of glue. This ensures that the moisture in your room does not partially cure the glue in the nozzle tip.
Note: You can store your glue with the glue pin inserted into the tip, instead of the nozzle if you choose.
Troubleshooting
If your glue dot appears clear, it may not have been shaken properly before use. Always shake the bottle from side to side, rather than up and down. Cyanoacrylate (the clear bonding agent in the glue) naturally settles at the top, so shaking up and down will not mix the components evenly.
All acrylates (the main component in eyelash extension adhesives) cure with the introduction of moisture. If not enough moisture is present in your lash room, the glue may take longer to cure and if too much glue is present, the adhesive may cure so fast that the bond is weakened. It is important to get to know the glue you are using and work within its ideal temperature and humidity range in order to get the most consistent results and best retention. This range will be quite different depending on the components present within the glue you are using. Be sure to read the product information to find a glue that is compatible with your lashing environment or become versed in ways that you can manipulate your temperature and humidity to suit your chosen adhesive. Watch this video for more details. Click here to watch a video about humidity.
Although changing your environment to suit your glue is the most reliable way to guarantee consistent results from your adhesive, we understand that keeping a consistent environment isn’t always attainable so here is a list of some quick fixes to help your glue cure faster:
- Prime the Lashes.
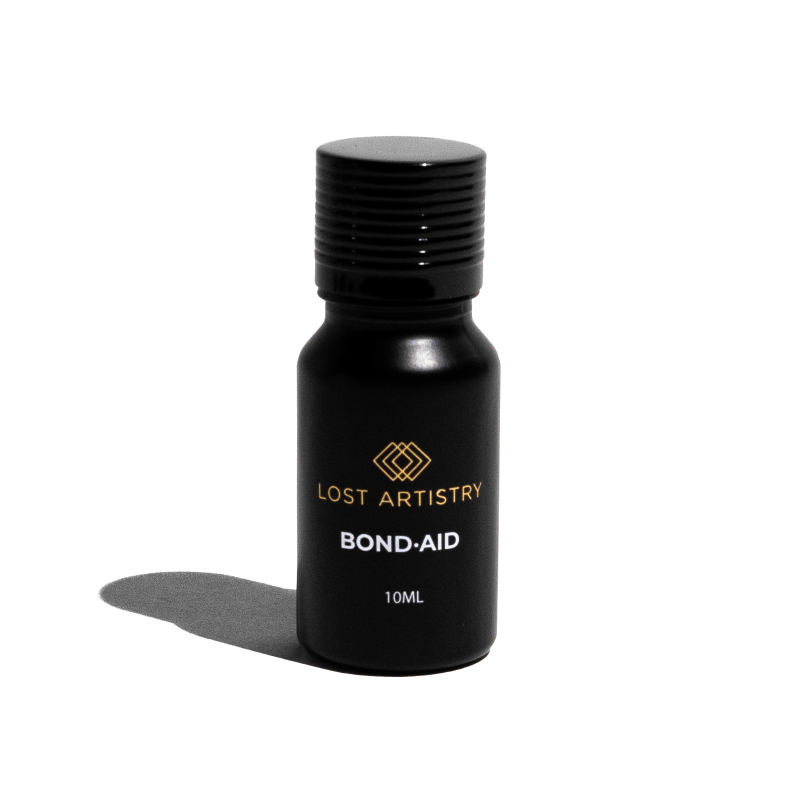
Bond-Aid Primer serves as a multi-functional product. It rids the lashes of dirt, oils and debris, creates a pH balanced surface to encourage a magnetic like bond and speeds up the cure time of any Lost Artistry’s adhesives. Place Bond-Aid on the natural lashes before all lash services. Click here to watch a tutorial.
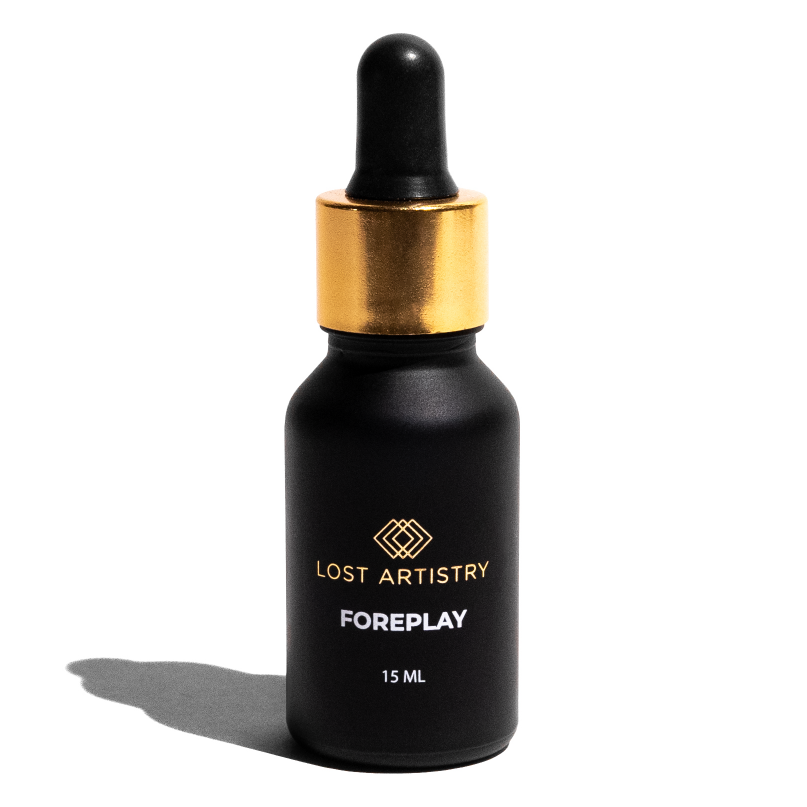
- Use Foreplay product on the lash strip.
One of Foreplay’s main functions is to combat humidity and temperature fluctuations in lashing environments. It can be applied directly to the lash strip prior to use to assist with any form of handmade fanning. Click here to watch a tutorial.
- Nano Mist during the service.
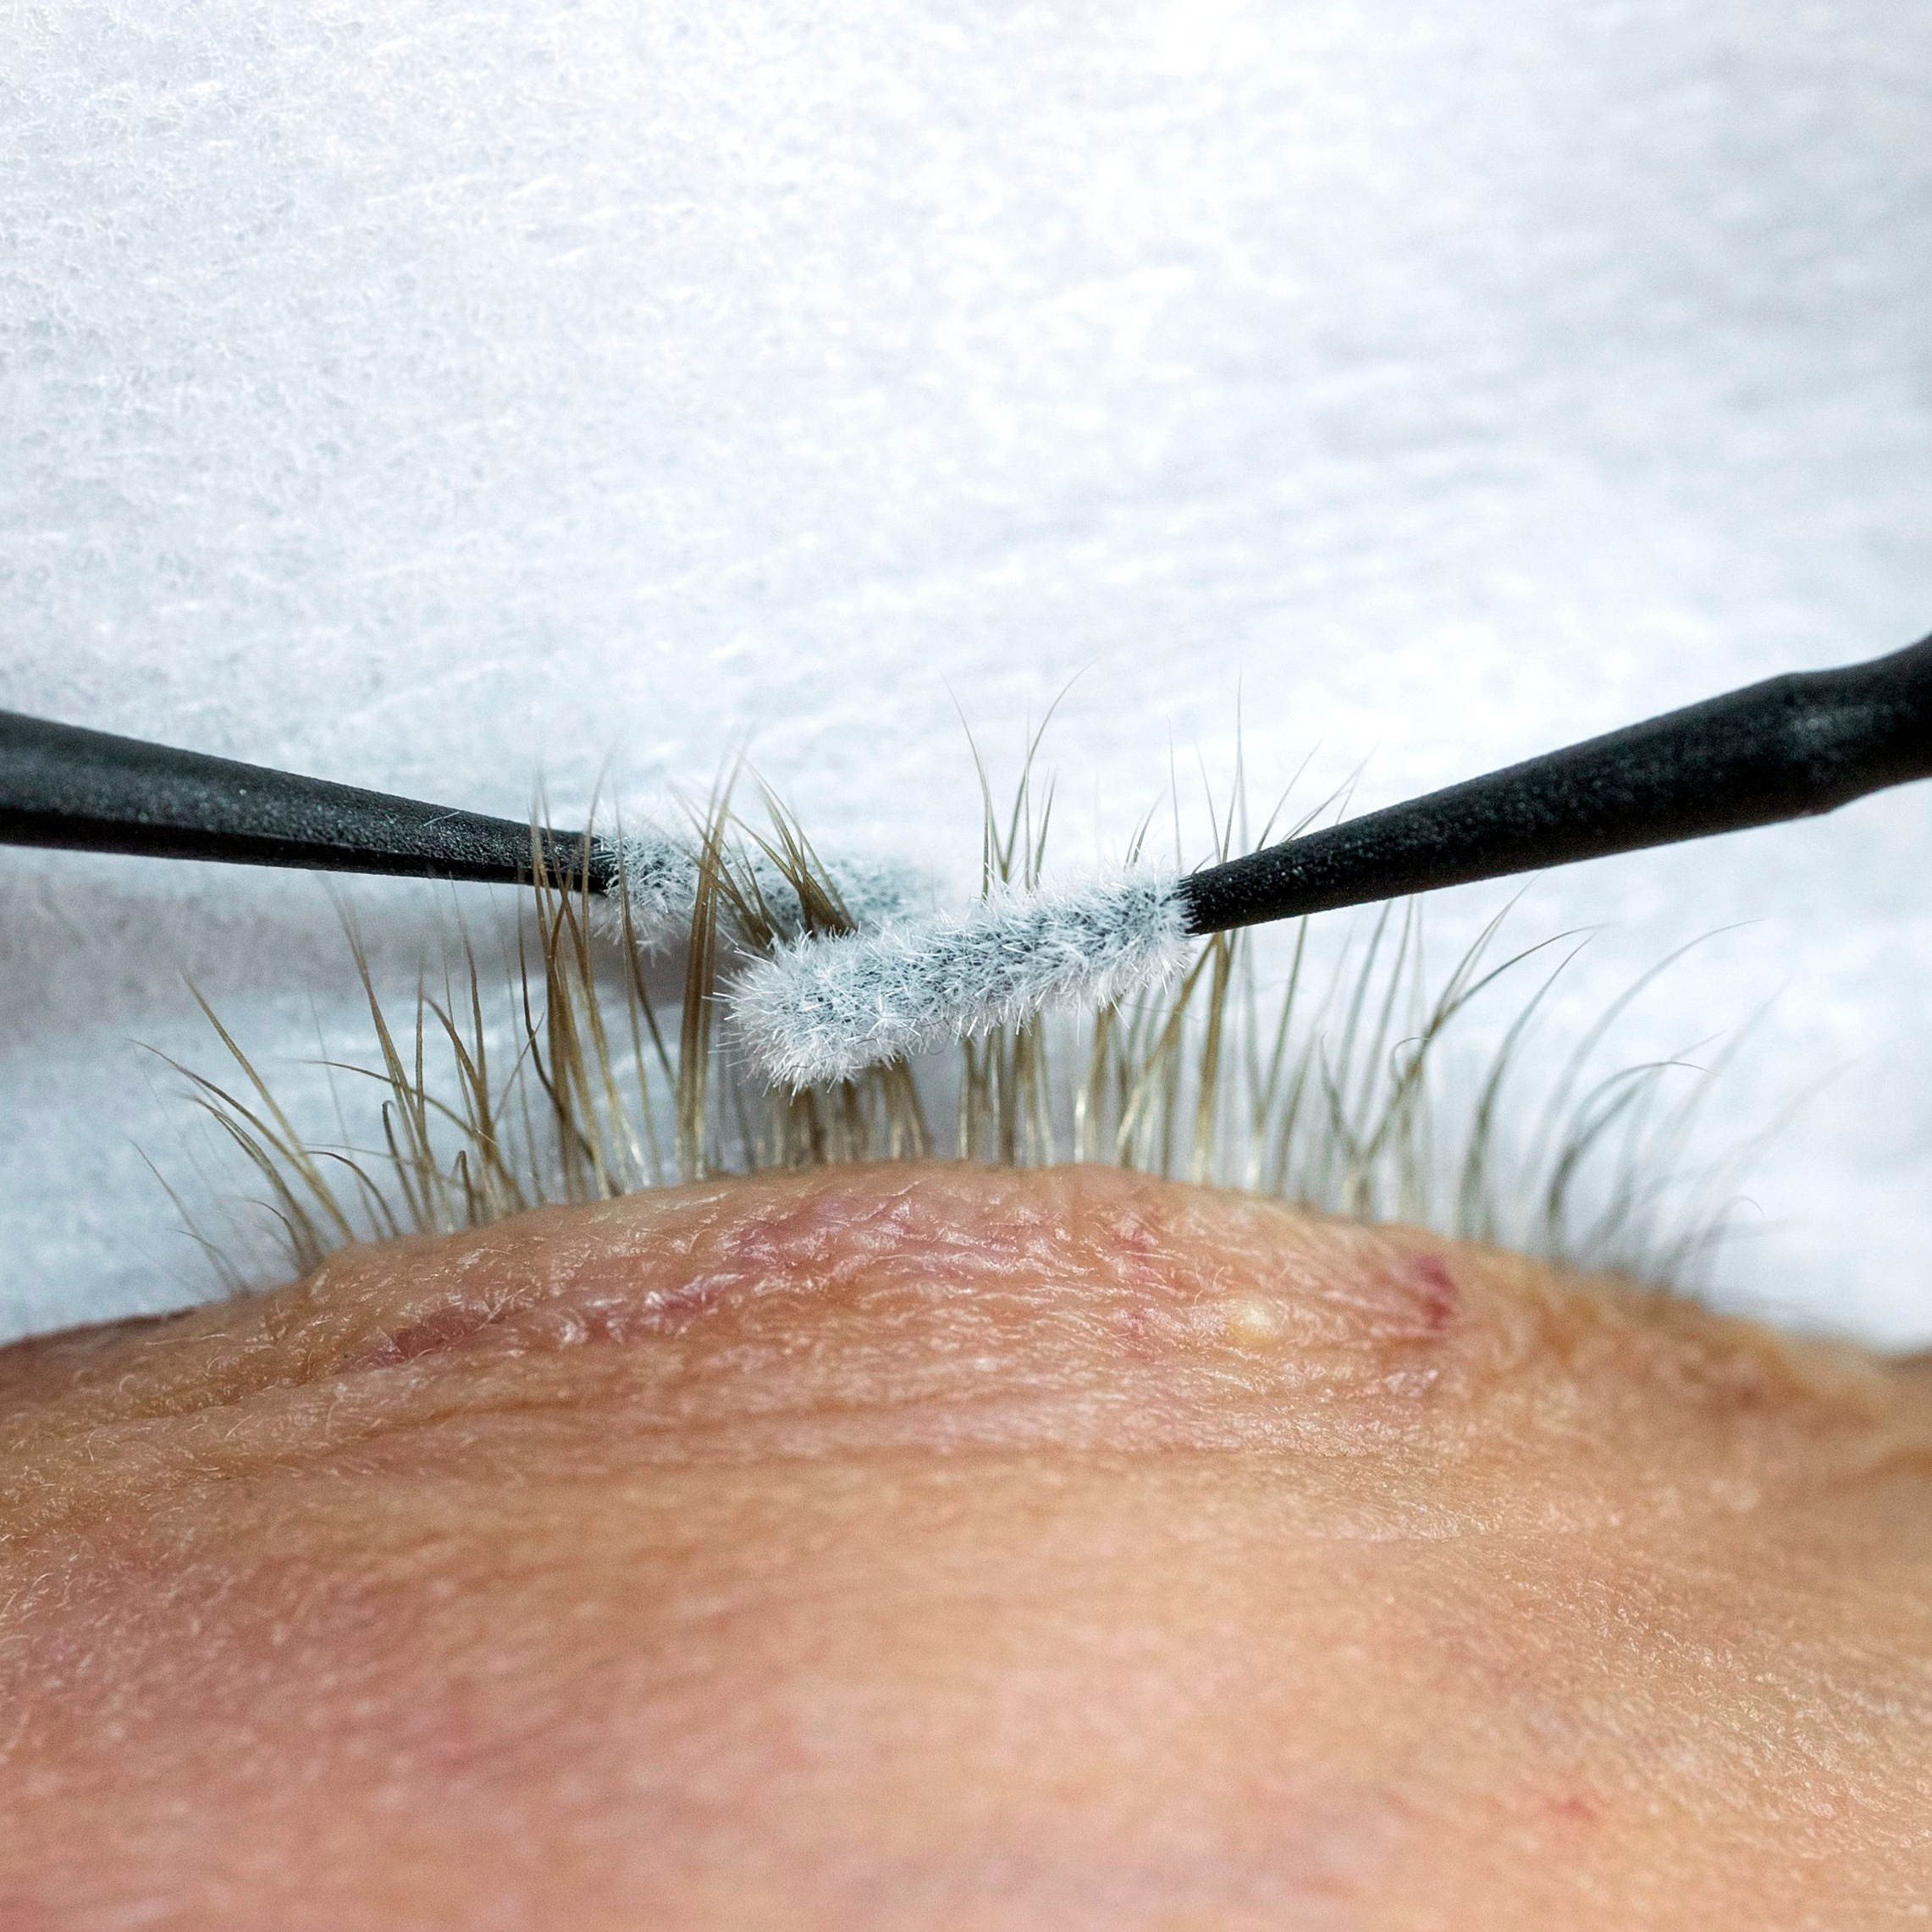
Moisture increases the cure time of any adhesive. A Nano Mister allows you to gently spray a controlled amount of mist to assist in curing the glue. This method, although effective, is important to use in moderation and with proper usage instructions. During a service, whenever you feel like you need to boost the cure time of your glue, hold the Nano Mister approximately 30 centimeters from the client’s face to avoid overcuring (shock curing). If you notice the glue at the base of the extensions turning white, don’t panic but you have used too much moisture and shock cured the lashes. Reduce how much Nano Mister you use for the remainder of the service.
- Put a few small dots of water on the eye pad while working.
The moisture introduced by the water droplets will speed up the cure time of the glue. Start with just a few dots to see if it helps. You can always add more as you go until you find the sweet spot for your working speed and lashing environment.
Note: If you notice your favourite glue to be curing slower than normal but your environment hasn’t changed and you have exhausted all fast curing hacks, it may be time for you to change your glue to a faster cure time option. You may simply be getting faster at lashing and need something that will cure faster to assist your speed increase. When sampling a faster cure time glue, be sure to pick an adhesive that only bumps up the cure time by .5 seconds at a time to avoid a difficult transition period. All glue changes take a little getting to. Example: You currently use a 2 second cure time glue. Try a 1-1.5 second cure adhesive next.
This is generally due to either improper storage, improper shaking, or expiration meaning the lash glue can no longer be used. Before discarding though, check your humidity levels. It is possible that your glue is fine by when using it, the amount of you have placed out for use on your client could be the only bit affected by humidity issues.
- Pre-Service Prep: Preparing the natural lashes before the service is super important. Each service should begin with a deep cleanse using Lash Bath or Sensi-Bath and a Primer (Bond-Aid) to rid the natural lashes of oils, dirt and debris, while creating a pH balanced surface that promotes a strong connection between the natural lash and the extension.
- Environment: Be sure you are using the right glue for your lashing environment - check the glue descriptions on our website to understand more about the specific adhesive you use. Be sure to follow the storage conditions, rH and temperature your glue requires when lashing.
- Adhesive: Replace your adhesive bottle regularly to ensure the bond is not compromised due to the glue being too old. We recommend using your adhesive within 1-3 months of opening. If your glue is tacky after shaking and your environment and storage is correct, we recommend replacing your glue immediately.
- Timing: Ensure you are using a glue that works well for your service timing. It is often assumed that a faster cure time adhesive will speed up the service, however this is a myth. A new or slower artist (no shame in this) should work with a 3-4 second cure time adhesive. As your speed increases, you can slowly lower your cure time by .5-1 second at a time. Never opt for a faster cure time adhesive until you are ready for it. This ensures you always have enough time to make a proper connection between the base of the extension and the natural lash which is the most important thing to focus on. Some advanced artists will stick with a 2-4 second cure time adhesive at an expert level while others will find that a .5-1 second cure time adhesive works best for them.
We provide a glue pin and a replacement nozzle with every lash glue purchase. If the glue becomes clogged, try unclogging it with the glue pin by piercing the nozzle hole with the glue pin. If this does not work, the entire nozzle may need to be changed. To change, you can remove the entire glue nozzle from the bottle by using a nail or butter knife to release the nozzle tip from the bottle. Once removed, replace with the new glue nozzle.
Click here to watch a video on how to unclog your lash glue.